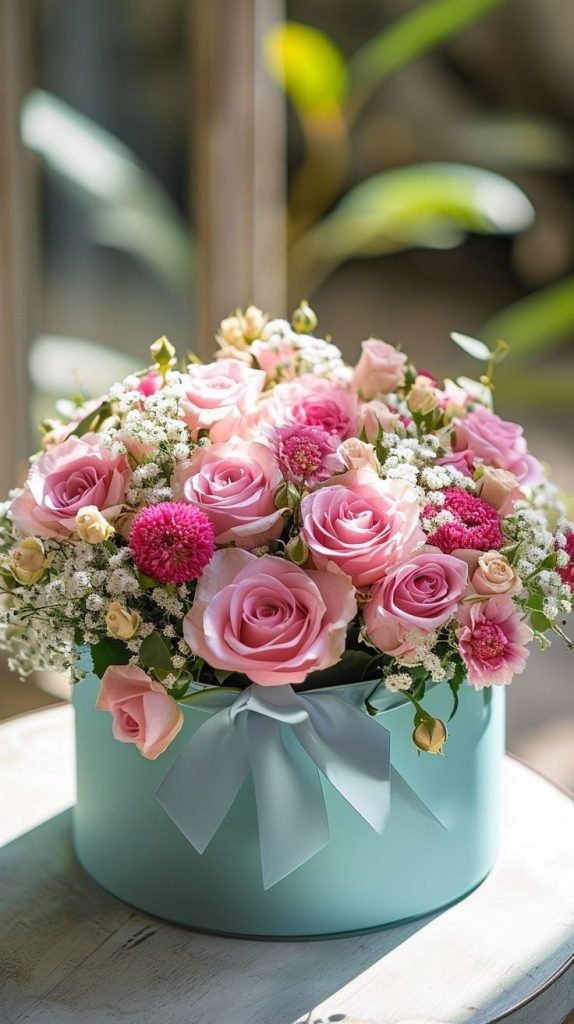
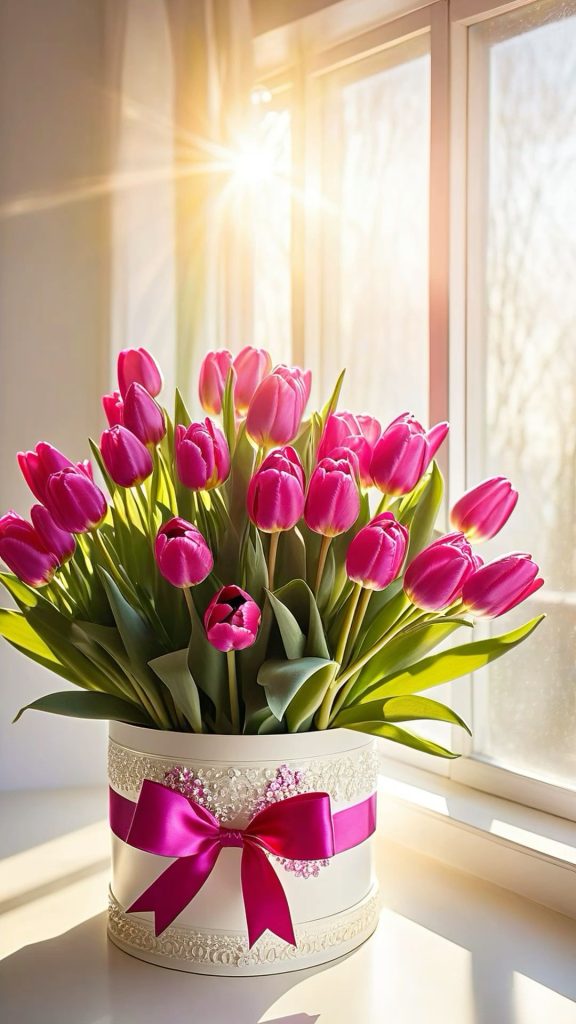
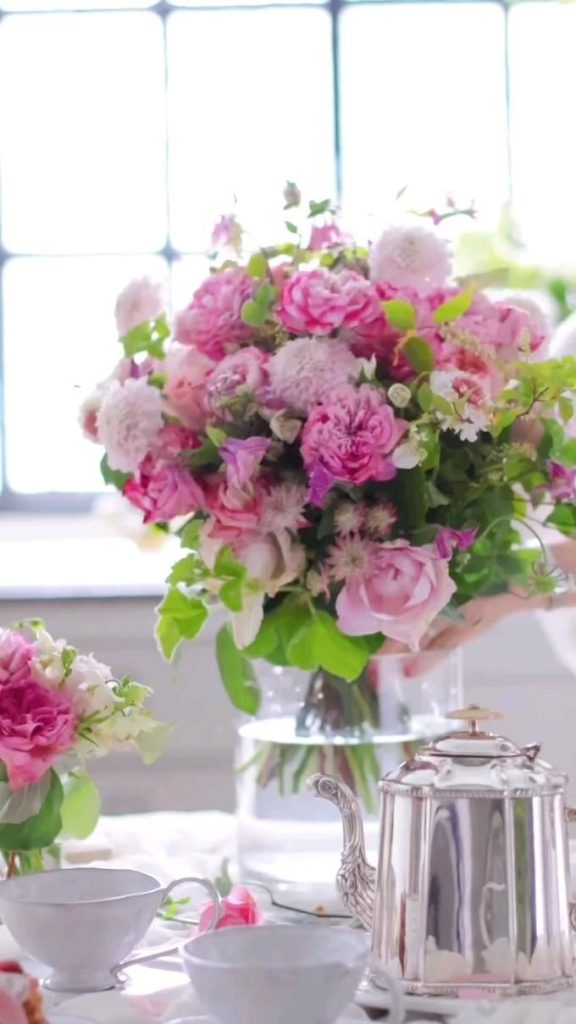
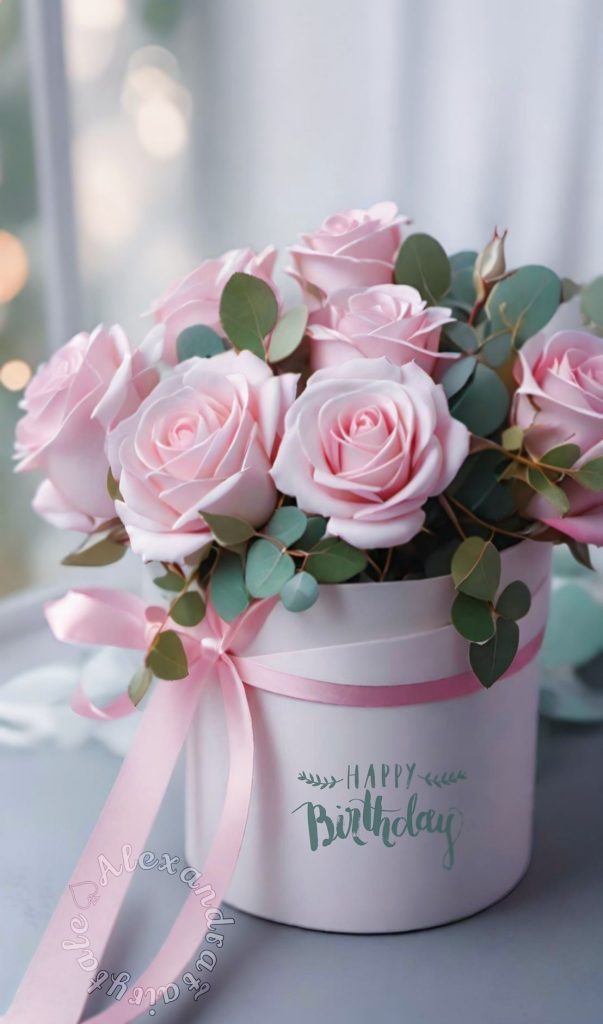
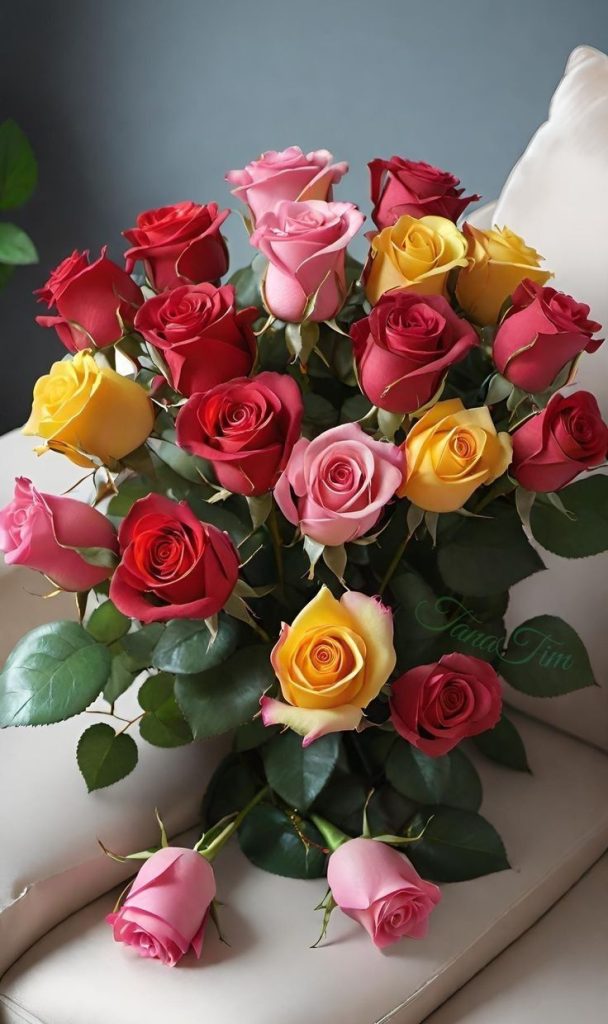
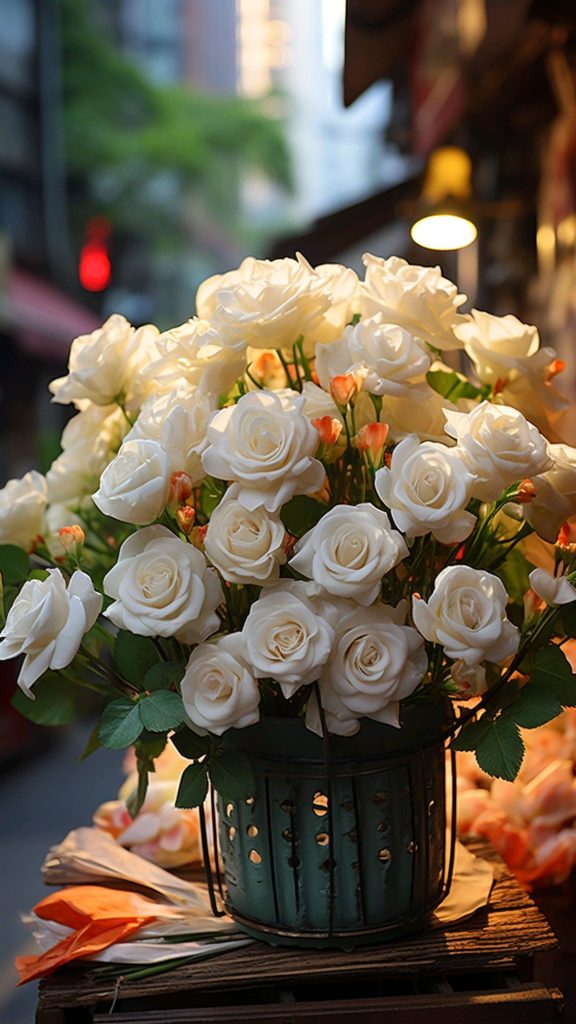
Flower arranging, also known as floral design, is an art form that allows you to express your creativity while showcasing the beauty of nature. Whether you’re arranging flowers for a special occasion, creating a centerpiece for your home, or simply exploring a new hobby, mastering the basics of flower arranging is the first step towards creating stunning floral displays. Here’s a beginner’s guide to help you get started:
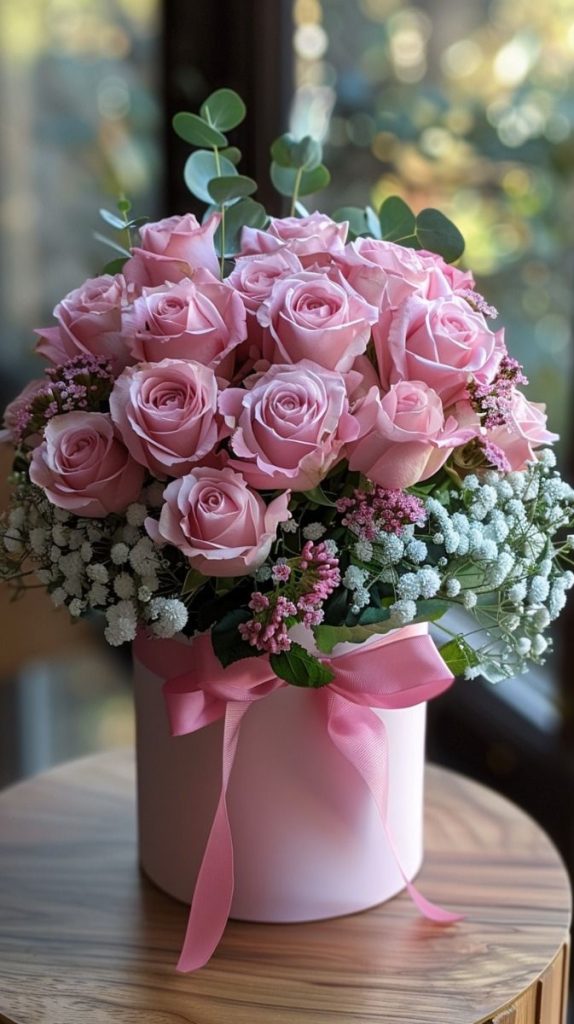
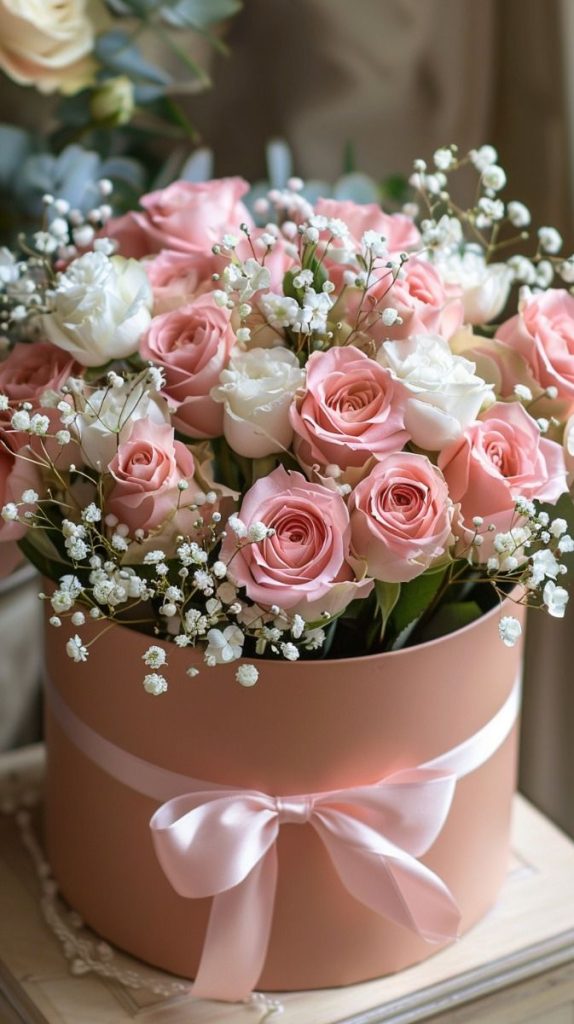
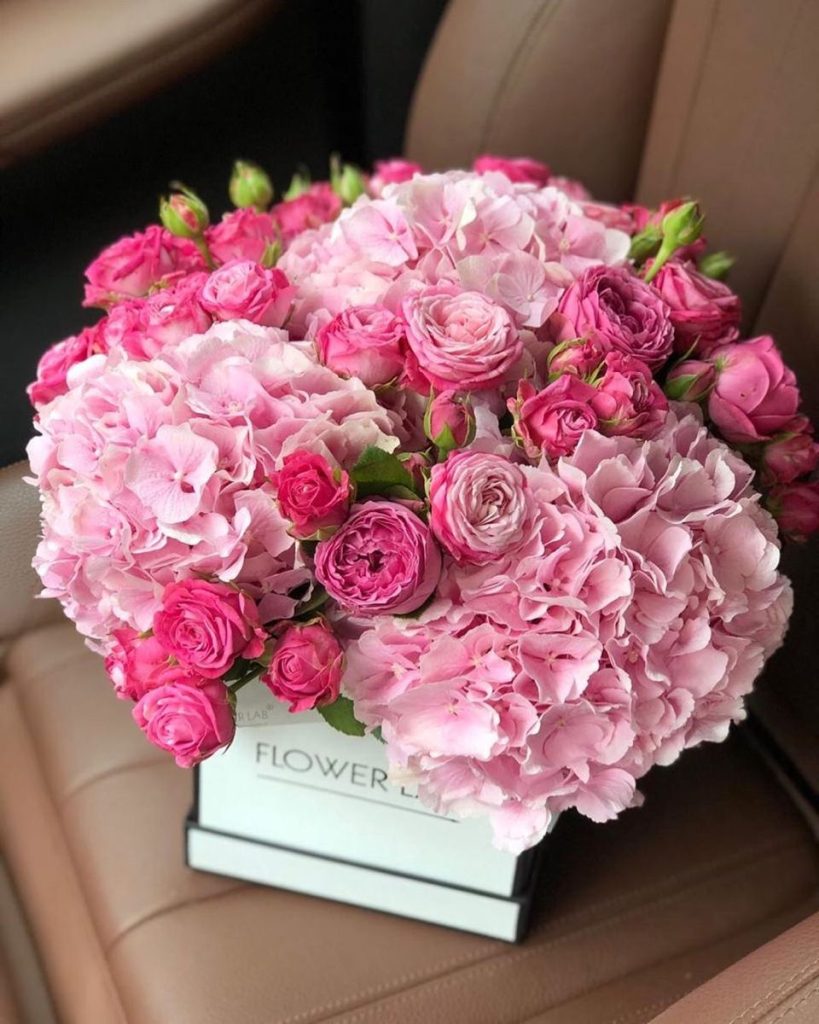
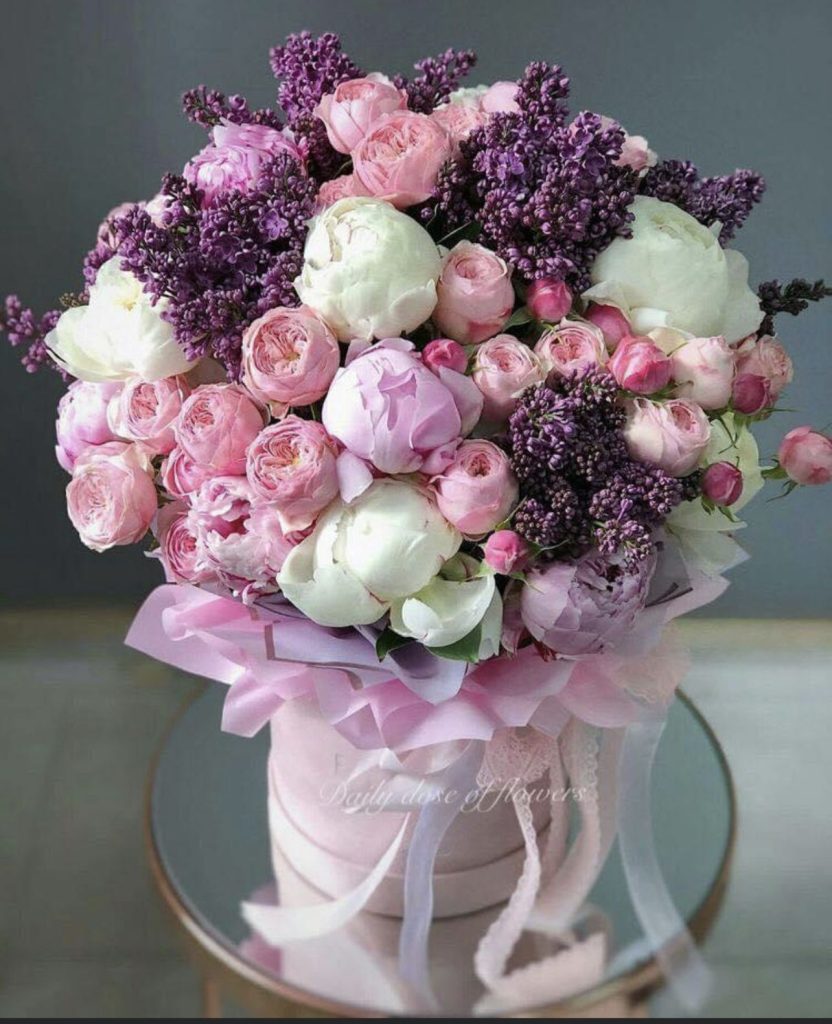
1. Gather Your Materials:
- Flowers: Choose a variety of fresh flowers in different shapes, sizes, and colors. Consider the color scheme and theme of your arrangement and select flowers that complement each other.
- Greenery: Greenery, such as foliage or filler flowers, adds texture and depth to your arrangement. Choose foliage with interesting shapes and textures to enhance the overall design.
- Vase or Container: Select a vase or container that suits the style and size of your arrangement. Ensure that the container is clean and has been filled with water mixed with floral preservative to prolong the life of the flowers.
- Floral Tools: Invest in a good pair of floral scissors or shears for cutting stems, floral tape for securing stems in place, and floral foam or frog pins for arranging flowers in foam.
2. Prepare Your Flowers:
- Trim Stems: Use floral scissors to trim the stems of your flowers at an angle, removing any foliage that will be submerged in water. Cutting stems at an angle increases water absorption and prolongs the life of the flowers.
- Remove Thorns: If working with thorny stems, such as roses, carefully remove thorns using a thorn stripper or a pair of gloves to protect your hands.
- Condition Flowers: Before arranging, place your flowers in a bucket of water for a few hours to allow them to hydrate and perk up.
3. Create a Framework:
- Start with Greenery: Begin by creating a base or framework for your arrangement using greenery. Start with larger foliage to establish the shape and structure of the arrangement.
- Build Layers: Layer different types of greenery and filler flowers to create depth and dimension in your arrangement. Allow some foliage to cascade over the edges of the container for a natural and organic look.
4. Add Your Flowers:
- Focus on Balance: Arrange your flowers evenly throughout the arrangement, focusing on balance and symmetry. Group similar flowers together for impact, and vary the height and placement of blooms for visual interest.
- Work in Odd Numbers: When arranging flowers, work in odd numbers (such as threes or fives) for a more natural and visually appealing composition.
- Consider Flower Placement: Pay attention to the natural shape and direction of each flower stem, and arrange them in a way that follows their natural growth pattern.
5. Fill in the Gaps:
- Filler Flowers: Use filler flowers or smaller blooms to fill in any gaps or empty spaces in your arrangement. These filler flowers add volume and texture to the overall design.
- Final Touches: Step back and assess your arrangement, making any final adjustments or tweaks as needed. Trim any stray stems and remove any wilted or damaged flowers.
6. Care and Maintenance:
- Water: Keep your arrangement hydrated by regularly changing the water in the vase and trimming the stems every few days to ensure optimal water absorption.
- Avoid Direct Sunlight: Place your arrangement in a cool, shaded area away from direct sunlight and drafts to prolong the life of the flowers.
Conclusion:
Creating a beautiful flower arrangement is a rewarding and enjoyable experience that allows you to unleash your creativity and bring a touch of nature into your home. By following these basic guidelines and experimenting with different flowers and styles, you’ll soon be on your way to mastering the art of flower arranging. Enjoy the process and let your imagination bloom!